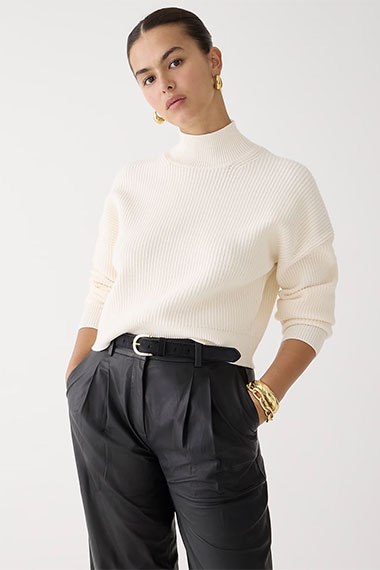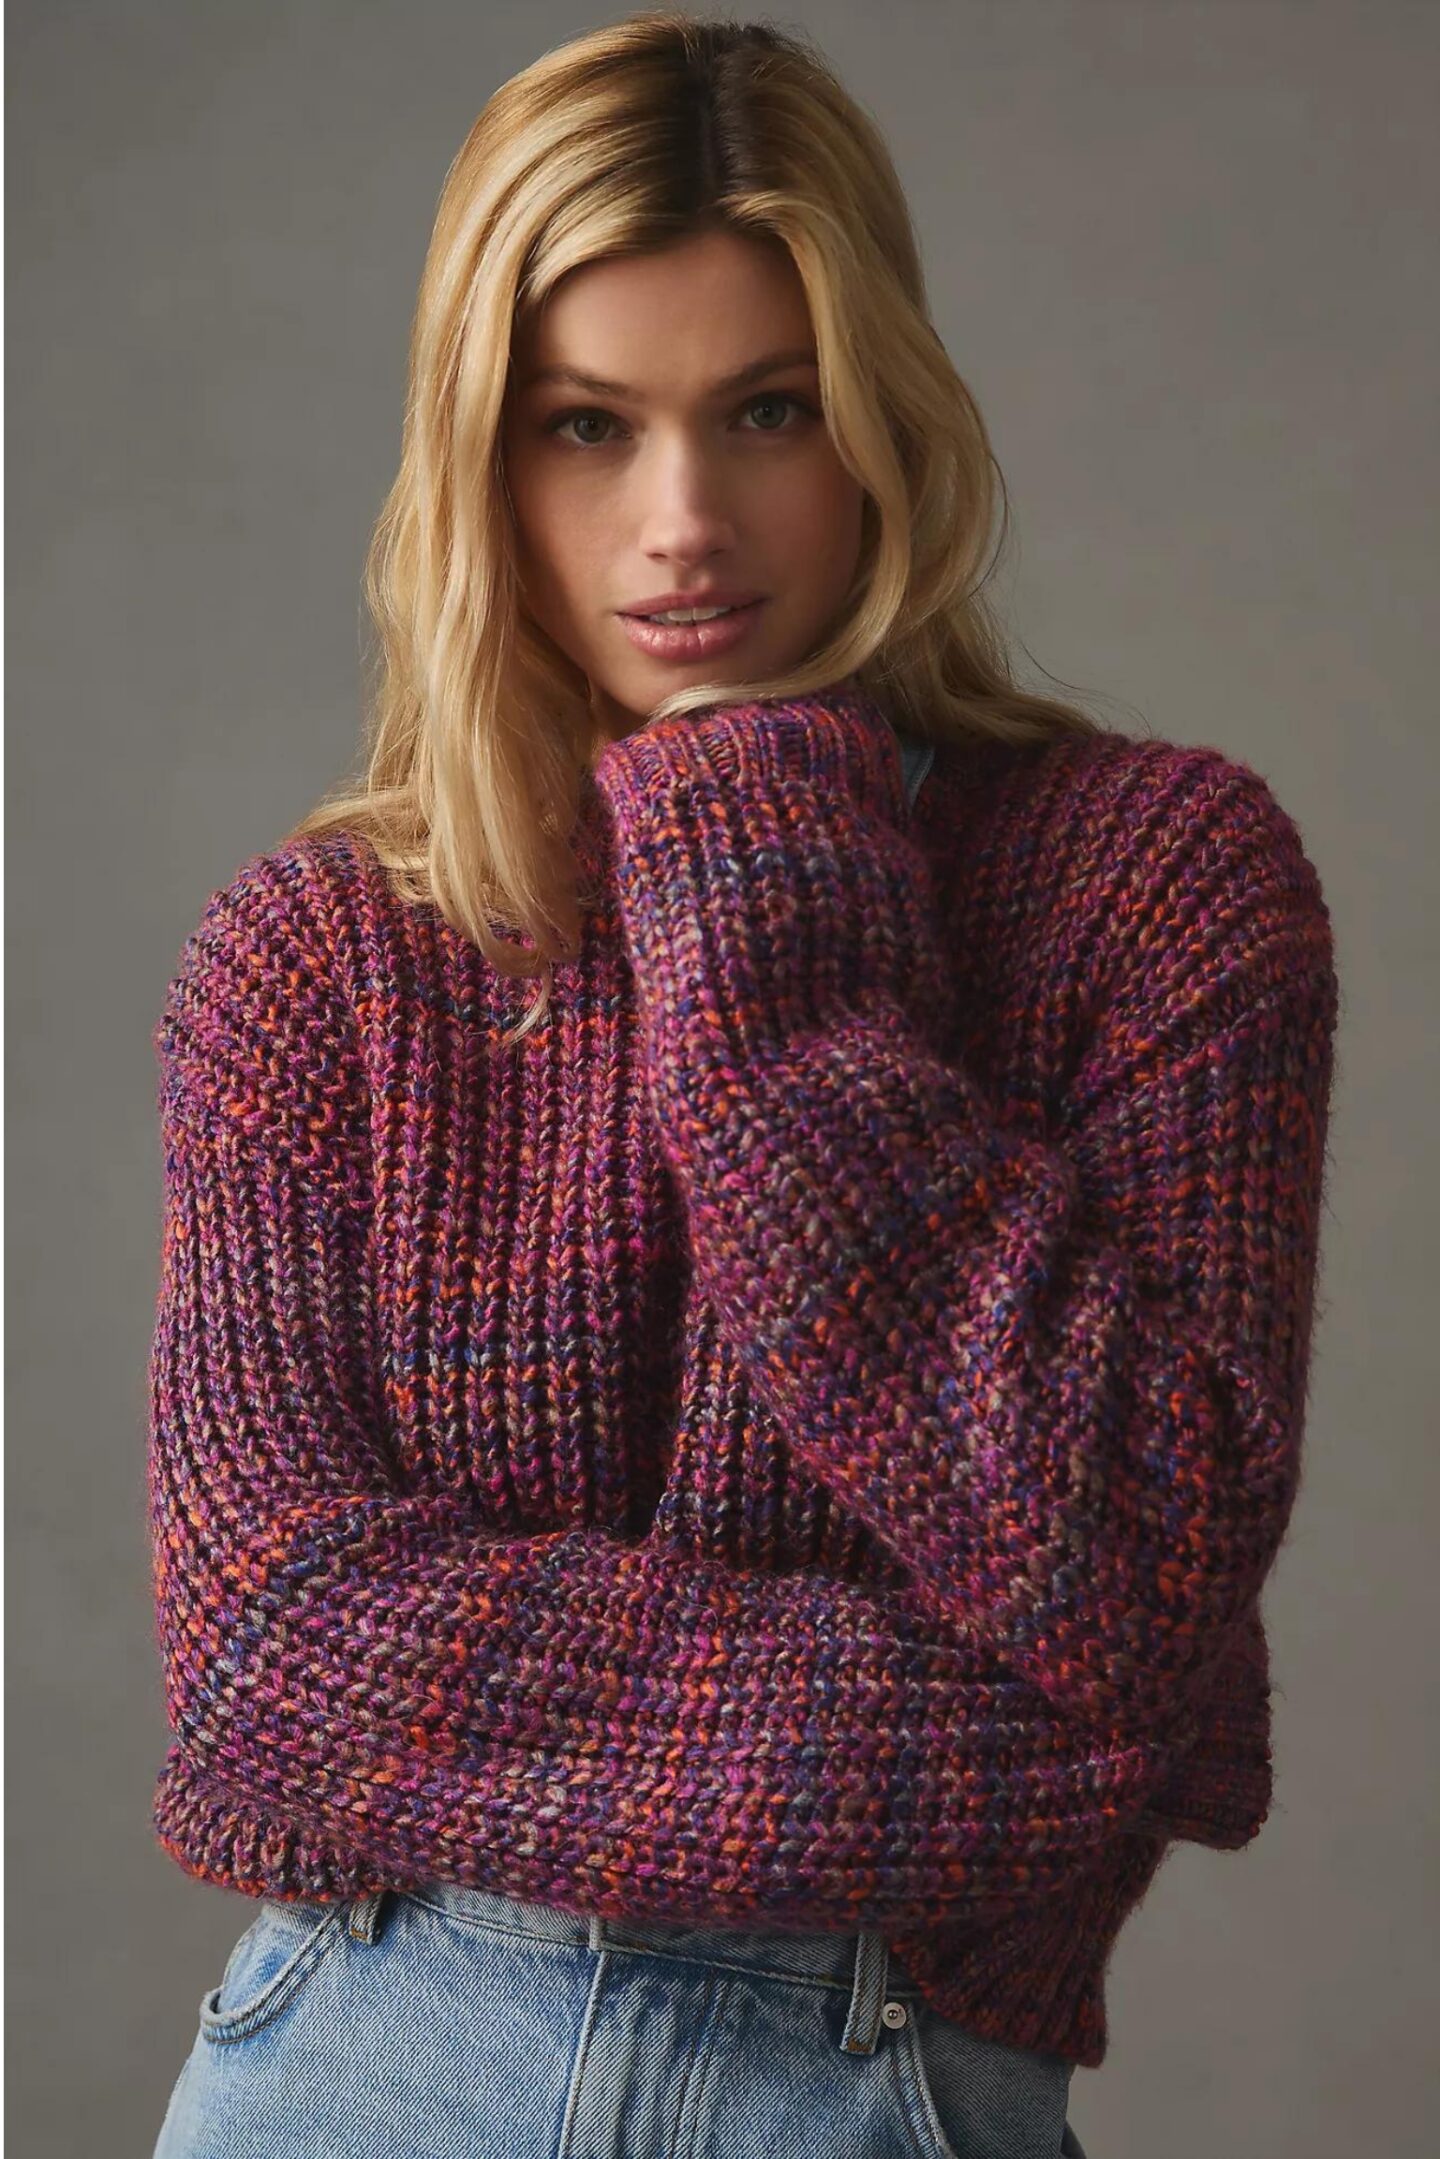
Every winter, I take incredible pleasure in finding my clients stylish non-itchy sweaters. No one wants an itchy sweater, least of all me. My skin is very sensitive, and I have some clients who are even more sensitive than I am. For some guaranteed non-itchy sweaters, read my post on “Stylish, Non-Itchy Sweaters.”
But sometimes we already own or fall in love with a sweater that is in fact itchy. Argh! In these situations, I have two suggestions on how to make a sweater less itchy.
How To Make A Sweater Less Itchy – Layer It!
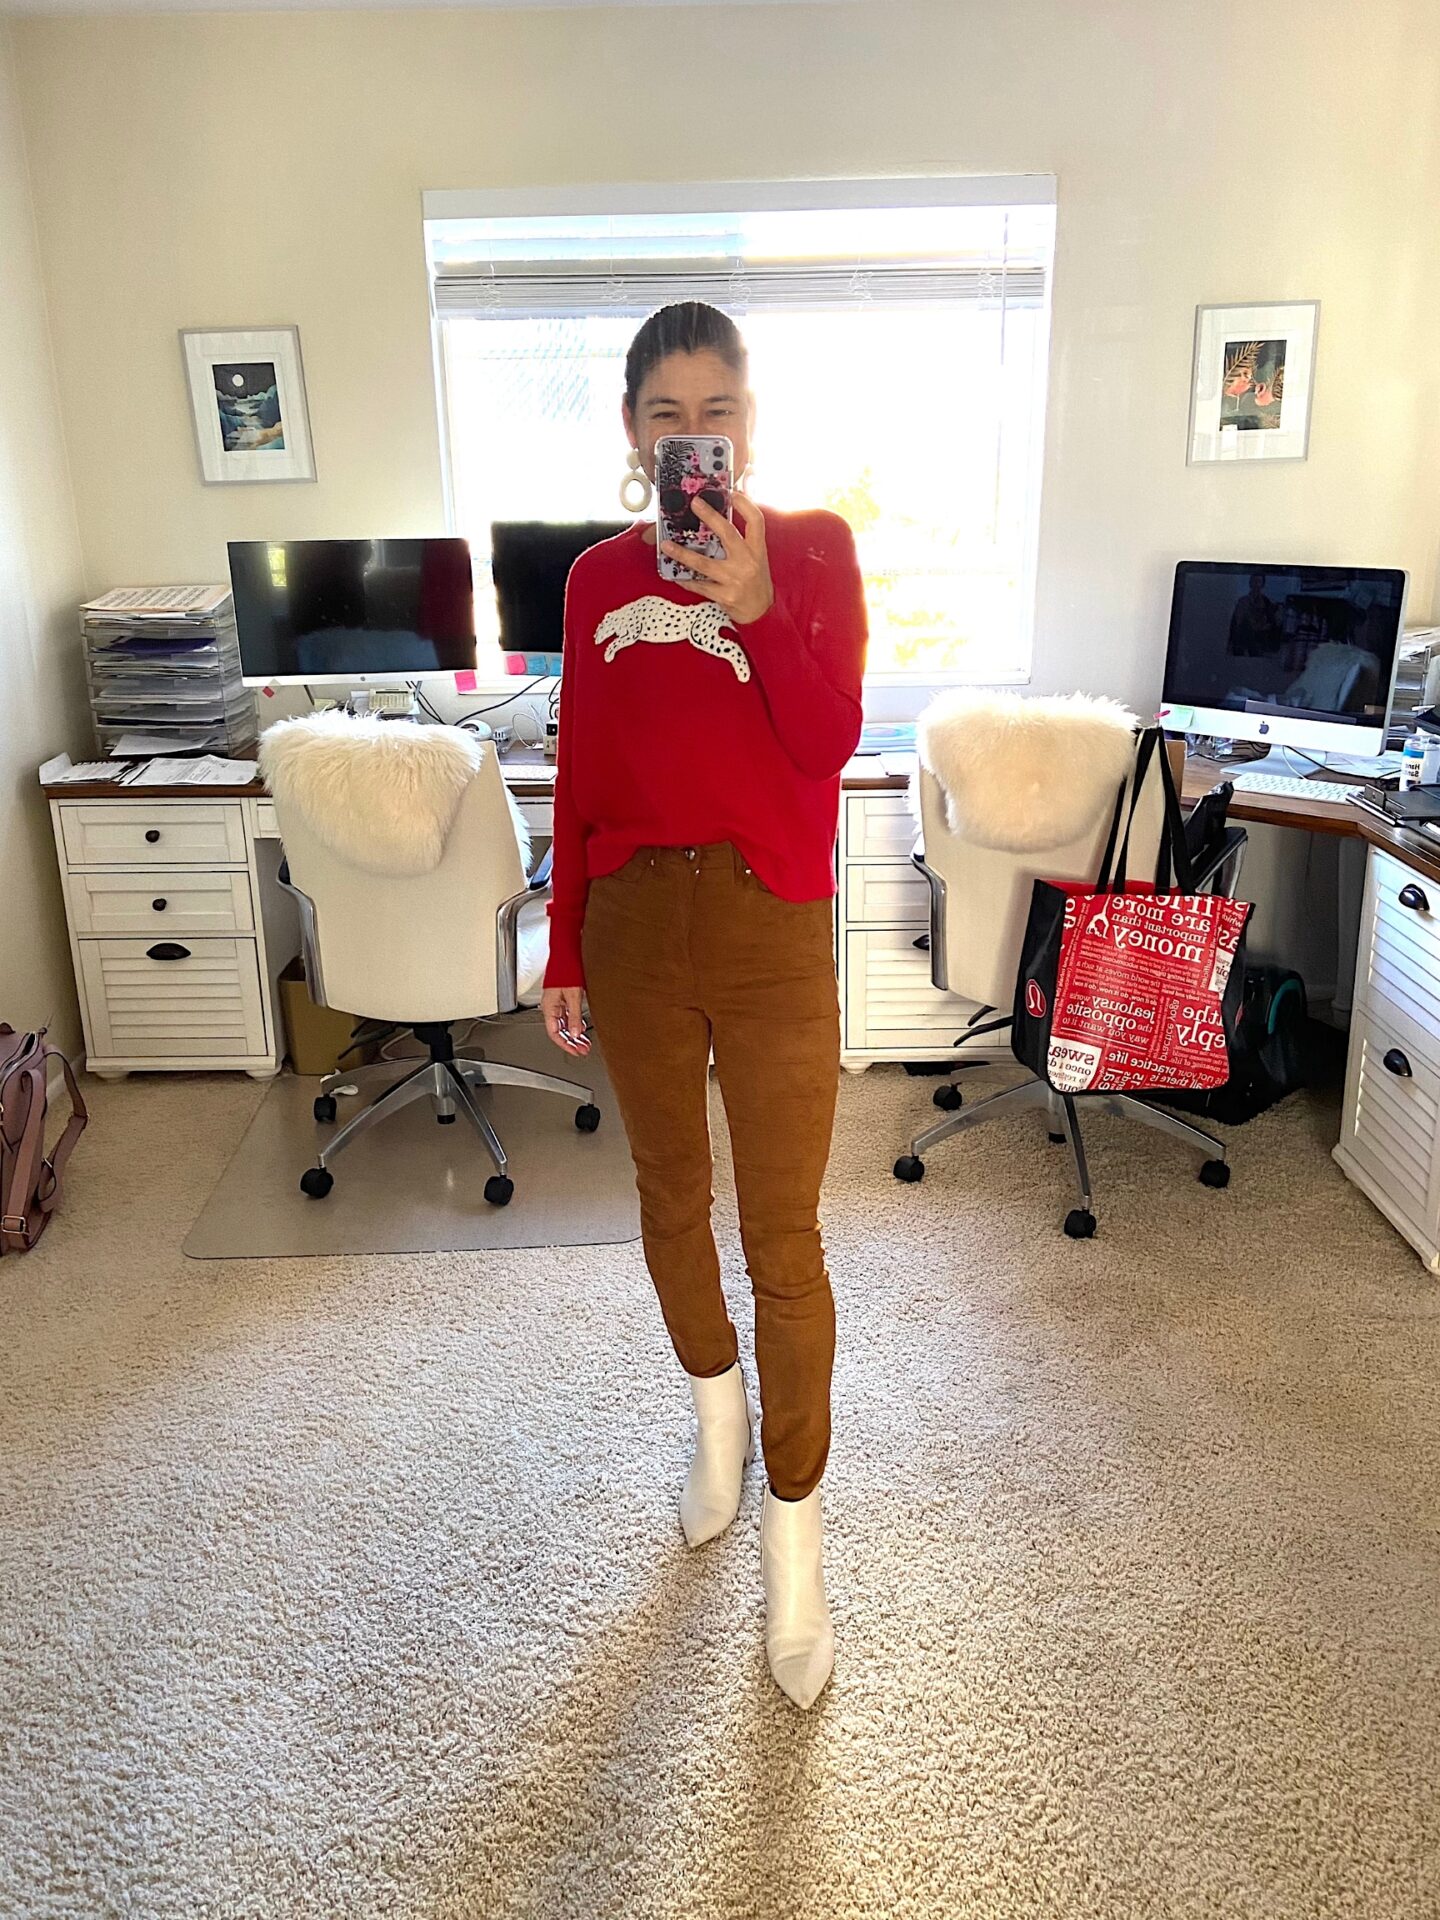
Obviously, we strive to buy non-itchy sweaters from the get-go. But sometimes a sweater you buy on final sale, or a sweater you just LOVE can turn out to be itchier than expected. In that case, I recommend layering a thin, fitted long sleeve t-shirt underneath, as I mentioned in my post on Stylish Long Sleeve Tops. I call these types of layering tops, “liners.” Not only will a layering top protect your skin from the itchy material, but it can also add a little extra warmth if you need it.
Pictured above is my favorite statement sweater. It is a Bloomingdale’s exclusive 100% cashmere sweater, and I seem to become more and more sensitive to it over time — damn you, itchy cashmere! I was heartbroken for a split second because it is literally my favorite sweater ever made. It is a brilliant and versatile design I never tire of and could wear forever. Then I quickly remembered my layering trick. I put one of my favorite long-sleeve, fitted liner tees on underneath and was saved. The super thin Uniqlo Heattech Scoop Neck Tee is a 100% effective barrier, and you cannot tell at all that there is another top underneath my itchy sweater.
Listed below are my favorite liner tops to put underneath an itchy sweater. Notice there is a fitted turtleneck tee on the list as well. This is a great choice for those who need full protection from an itchy sweater’s neckline. Since this type of liner will show, make sure you select a color that complements your sweater. Thankfully, Uniqlo has a plethora of colors to choose from.
- Uniqlo Heattech Scoop Neck Tee ($19.90)
- Uniqlo Heattech Crew Neck Tee ($19.90)
- Uniqlo Heattech Turtleneck Tee ($19.90)
- Skims Stretch Cotton T-Shirt ($54)
- Skims “Silkier” Polyamide/Elastane T-Shirt ($54)
How to Make A Sweater Less Itchy – Hair Conditioner?
There are also some interesting Internet theories out there on how to make sweaters less itchy. I came across a Glamour article that suggested washing your sweater with conditioner and then placing it in the freezer to get rid of the itch. My amazing assistant Madeline Hornbuckle volunteered to try it for us on one of her itchy sweaters. She said it worked! Here’s her step-by-step guide on how to make your sweater less itchy…
- Step 1: Get Your Itchy Sweater and Supplies
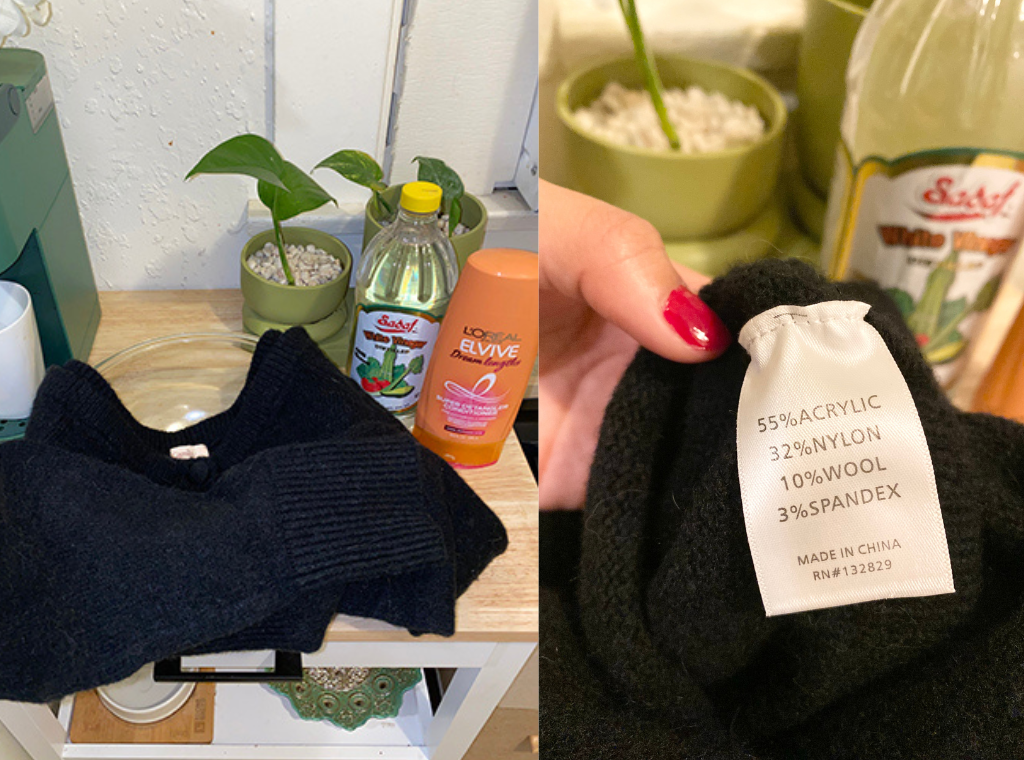
I chose this Camila Coelho sweater because it’s cropped, making it easier to work on. Plus, the washing instructions on its tag said hand wash so it was the perfect candidate. Besides your itchy sweater, you’ll also need a bowl to soak it in, white vinegar, conditioner, and a large ziplock bag.
- Step 2: Soak Your Itchy Sweater
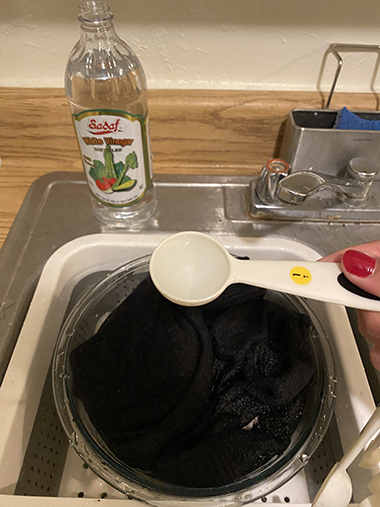
I filled the bowl with cold water and added 4 tablespoons of vinegar. Then, I turned the sweater inside out and soaked it for 15 minutes. I checked in about halfway through so that I could massage the water and vinegar into the sweater.
- Step 3: Massage Your Itchy Sweater With Conditioner
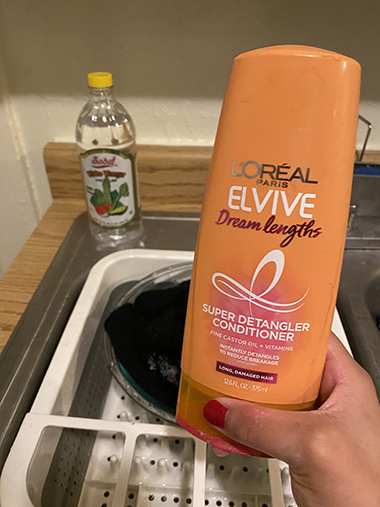
After the 15 minutes were up, I drained the bowl and wrung out some of the water from the sweater, but not too much. I then started massaging the conditioner into the sweater. I massaged it by section, starting with the sleeves and then moving to the torso. Once I had finished, I realized that I didn’t put much focus on the ribbed cuffs and collar/hemline. I went back and made sure to massage extra conditioner between the ribbing, but I wish I was more meticulous about it (more on why later). Then, I let the conditioned sweater sit in the bowl for another 30 minutes.
- Step 4: Rinse Your Sweater
After the 30 minutes were up, it was time for me to rinse out the conditioner with cold water. It was advised to rinse it out completely, and I must admit, this was the most tedious step. Not only was it a challenge to make sure the knit was conditioner-free, but it was also scary to wring out the water while making sure I wasn’t stretching out the fabric. I was doing this process in the kitchen sink, but I think the shower would have made this particular step easier. Also, I would recommend using a larger bowl or bucket than the one I used. This step took me about 30 minutes because I wanted to make sure I was thorough.
- Step 5: Air Dry Your Sweater
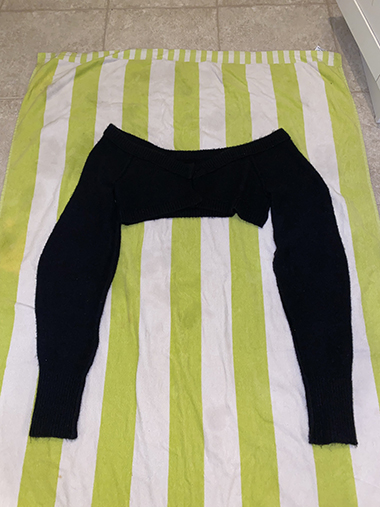
After rinsing out the sweater, I laid it flat on a towel to dry. It took much longer to dry than I was expecting. This might have something to do with my home being overly cold, since my heater has been temperamental (pun intended!). So, instead of the sweater drying in time for me to place it in the freezer overnight, I had to wait until the next day to do so.
- Step 6: Put Your Sweater In The Freezer (yes, really)
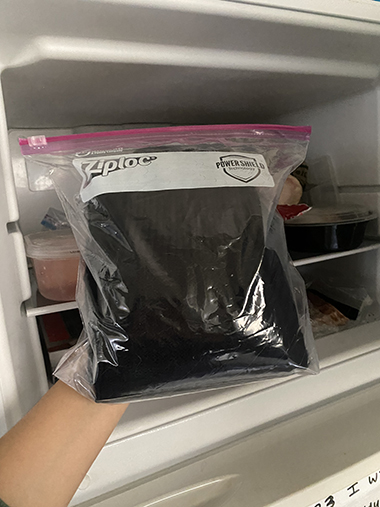
Once the sweater was dry, I folded it neatly in a ziplock freezer bag and left it in the freezer for about 6 hours.
- Step 7: Warm Up Your Sweater & Enjoy Its Non-Itchiness
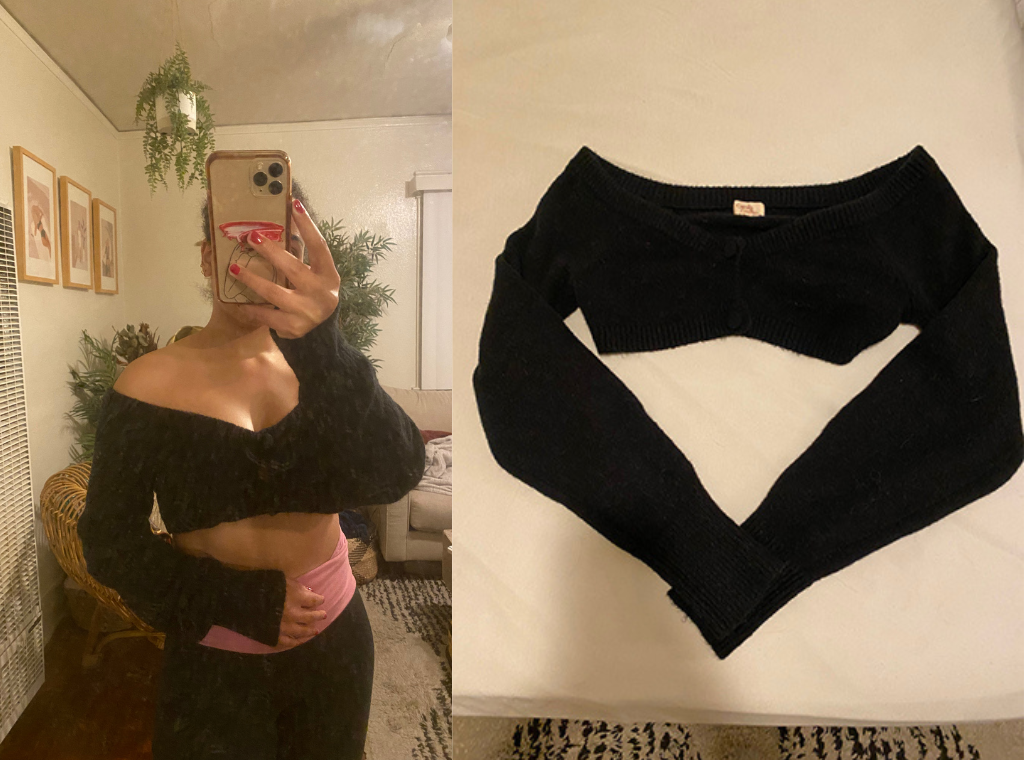
When it was time for me to test out the sweater, there was a bit of frost along the ribbed cuffs, collar, and hemline because those areas are extra ribbed and must of had some water still trapped inside. After letting the sweater warm up for about 15 minutes, I tried it on… and it was a success! I would say about 90% of the itchiness is gone. The areas where I noticed some minor itchiness are a couple of spots on the sleeves and the cuffs (most likely because I wasn’t as thorough with the conditioner as I had hoped — especially in those extra ribbed spots). All in all, I’m very happy and impressed with the results. I have had this sweater for so long and hadn’t worn it once because it was too irritating on my skin. This has made a significant difference. Yay!!

