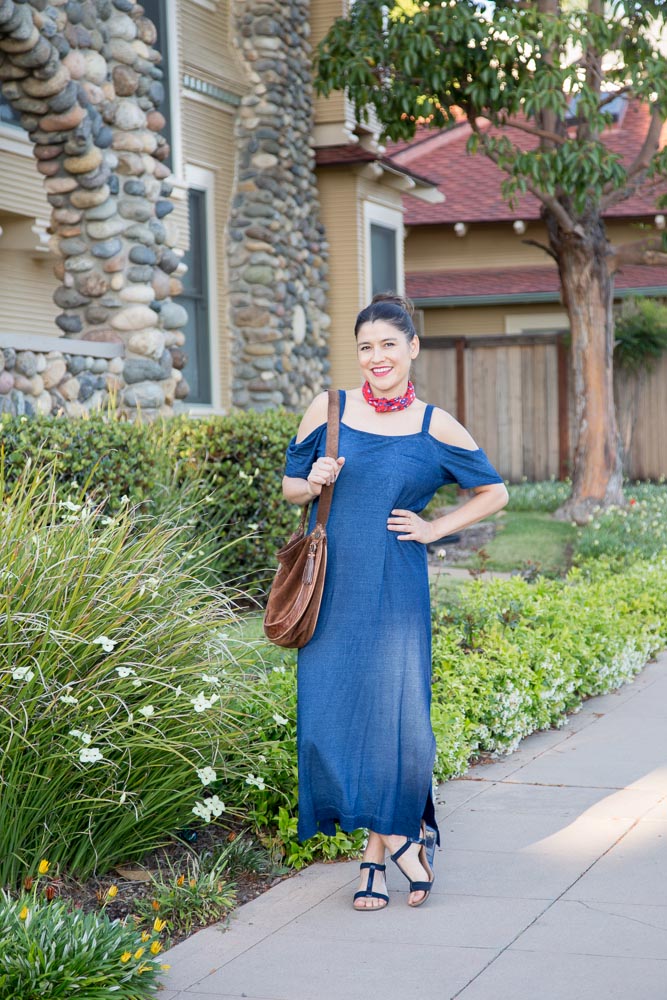
There are many different ways to style a bandana. You can wear it in your hair, on your wrist as a bracelet, around your neck, and even as a top. I personally adore wearing a bandana in place of a necklace on a hot day. It looks ‘cool’, feels soft against your skin, and skips over the discomfort of a metal necklace sticking to your skin from either sweat or sunscreen. I am sure you know that feeling, but you may not know how to tie a bandana into a necklace, so here is a step-by-step guide on how to tie a bandana around your neck…
Where To Buy Bandanas – Best Bandanas
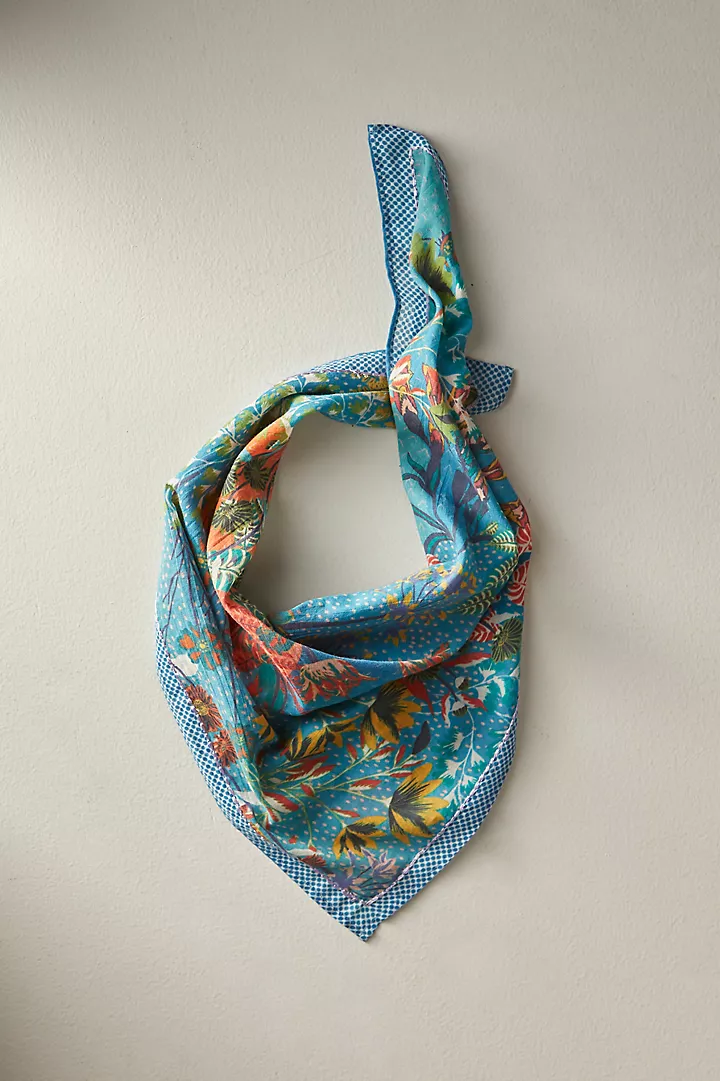
Before you get started you obviously need the right kind of stylish bandana. I prefer cotton over silk or polyester for the summer since the goal is the ability to sweat. Silk hates sweat, and I hate polyester. The best bandanas for wearing around your neck should be a square, ideally 21 inches. When it comes to where to buy bandanas, these are my go-to places:
[shop/]
To learn how to tie a bandana into a necklace you can watch my YouTube video or follow the step-by-step guide (with photos!) below.
How To Tie A Bandana Around Your Neck – Step 1: Fold It Into A Triangle
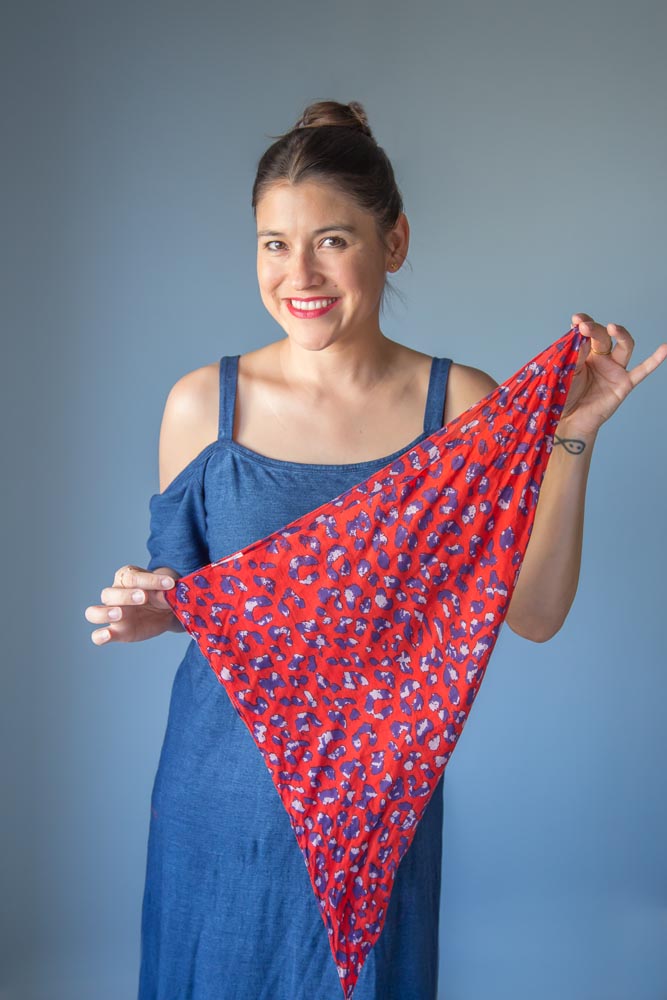
The first step for creating a bandana necklace is to fold the bandana into a triangle. If you don’t want to remove the tag on your bandana, make sure it’s at the center point of the triangle, and not a side point. This will successfully hide the tag.
Step 2: Start Rolling The Scarf
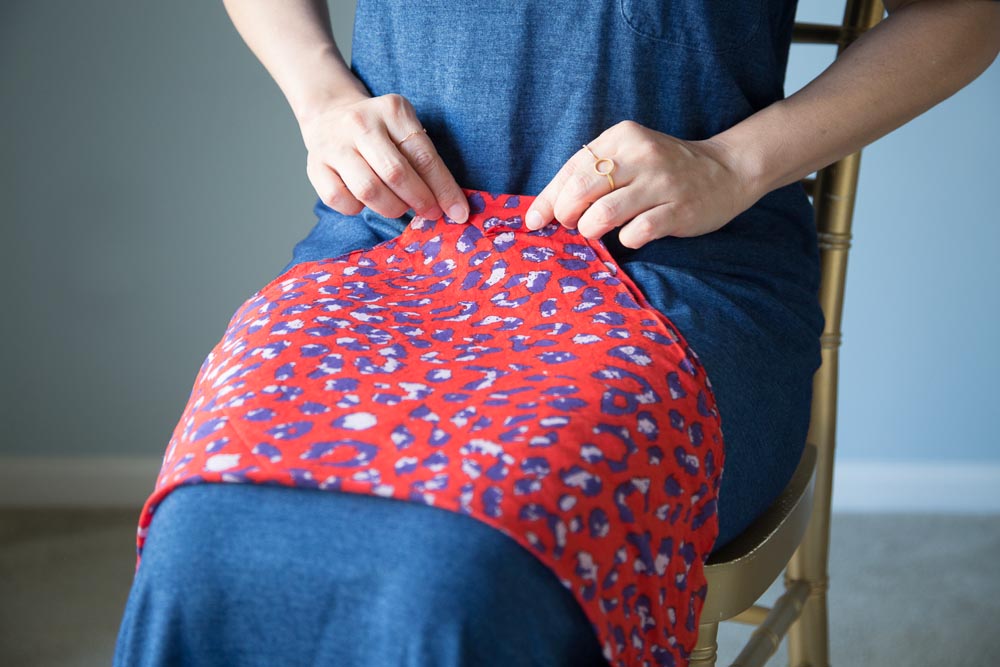
Fold the center tip of your bandana about 1-inch into itself and then keep folding it 1-inch at a time. It is almost as if you are rolling the scarf as you can see in the image below.
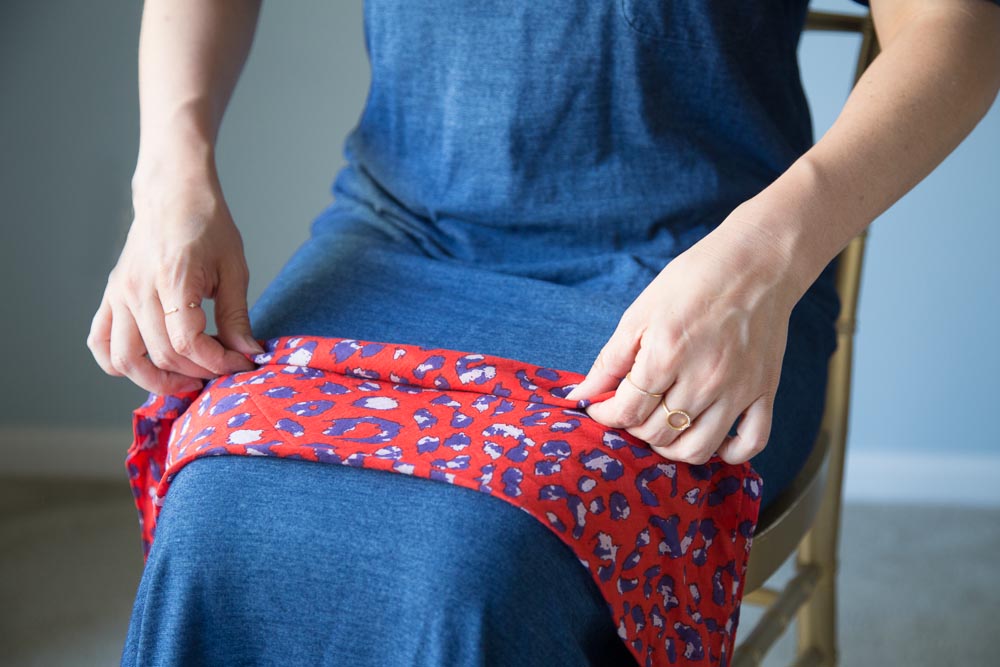
Step 3: Put It Around Your Neck

This is an easy step — yay! Once you have the scarf rolled into a 1.5-inch strand, place it around your so that the sides are symmetrical.
Step 4: Tie A Knot
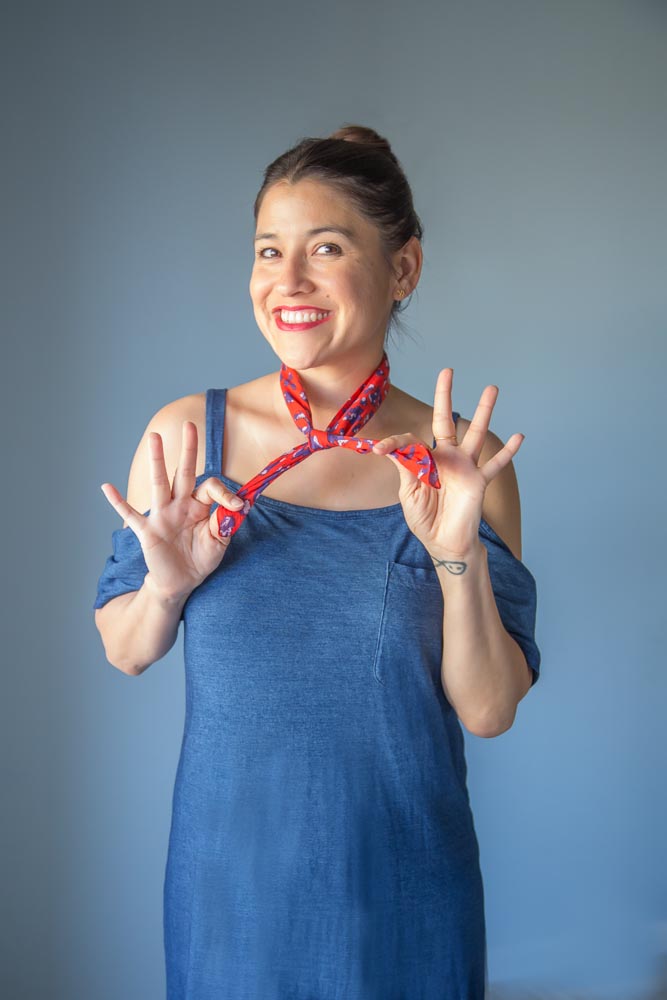
Next, tie one knot into your bandana about 4 inches away from your neck. I tie the knot by placing the right side over the left side and then flipping the left side into the opening above it that you’ve created. You can pull the scarf tails to move the knot up if need be.
Step 5: Tie More Knots
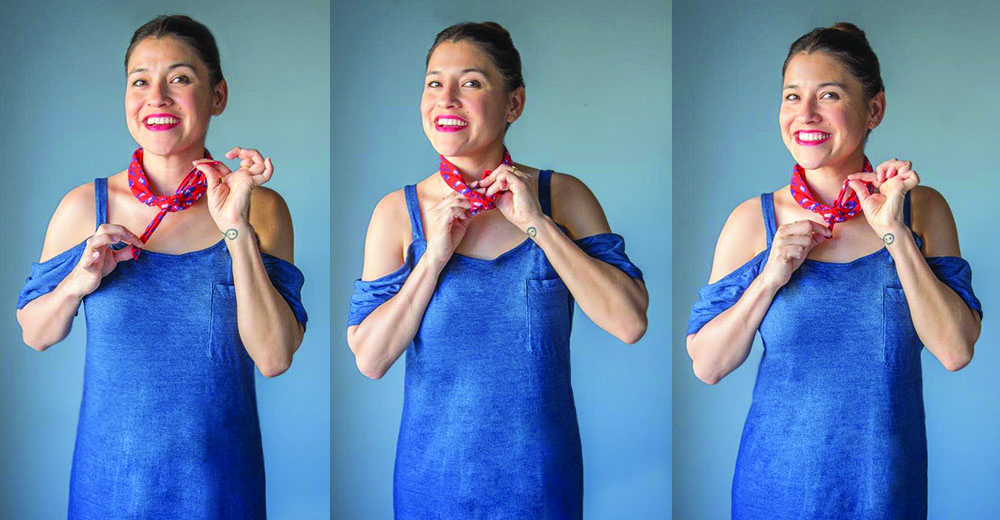
Tie another knot, right on top of the other knot. You’ll cross right over left again, but this time I bring the right tail up through the hole to create the knot.
At this point, you should have two little scarf tails a little under 4 inches long that should stick out vertically. You’ll then use those scarf tails to tie one last knot around the other knots and hide the extra fabric. To do that, take the two bits of scarf left and point them towards your neck to make a knot behind the other knots. This successfully hides the last of bit scarf from sticking out for a scarf look your Grandmother didn’t wear.
If you have a slightly larger square scarf as shown in the YouTube video, you will need to slip the extra long tails into the folds of the scarf created when you rolled it in the beginning.
How To Tie A Bandana Around Your Neck: The Final Look

Photos by Dayley Photography
Feeling inspired by your new bandana-tying skills? I also have posts on How To Wear A Summer Shawl & How To Tie A Large Square Scarf For Summer.




2 Responses
Great tip! Vanessa, the scarf and dress is perfect for this time of the year.
Thanks for sharing…your tips are the best!
Pat
Hi Pat! I am so glad you enjoyed it!